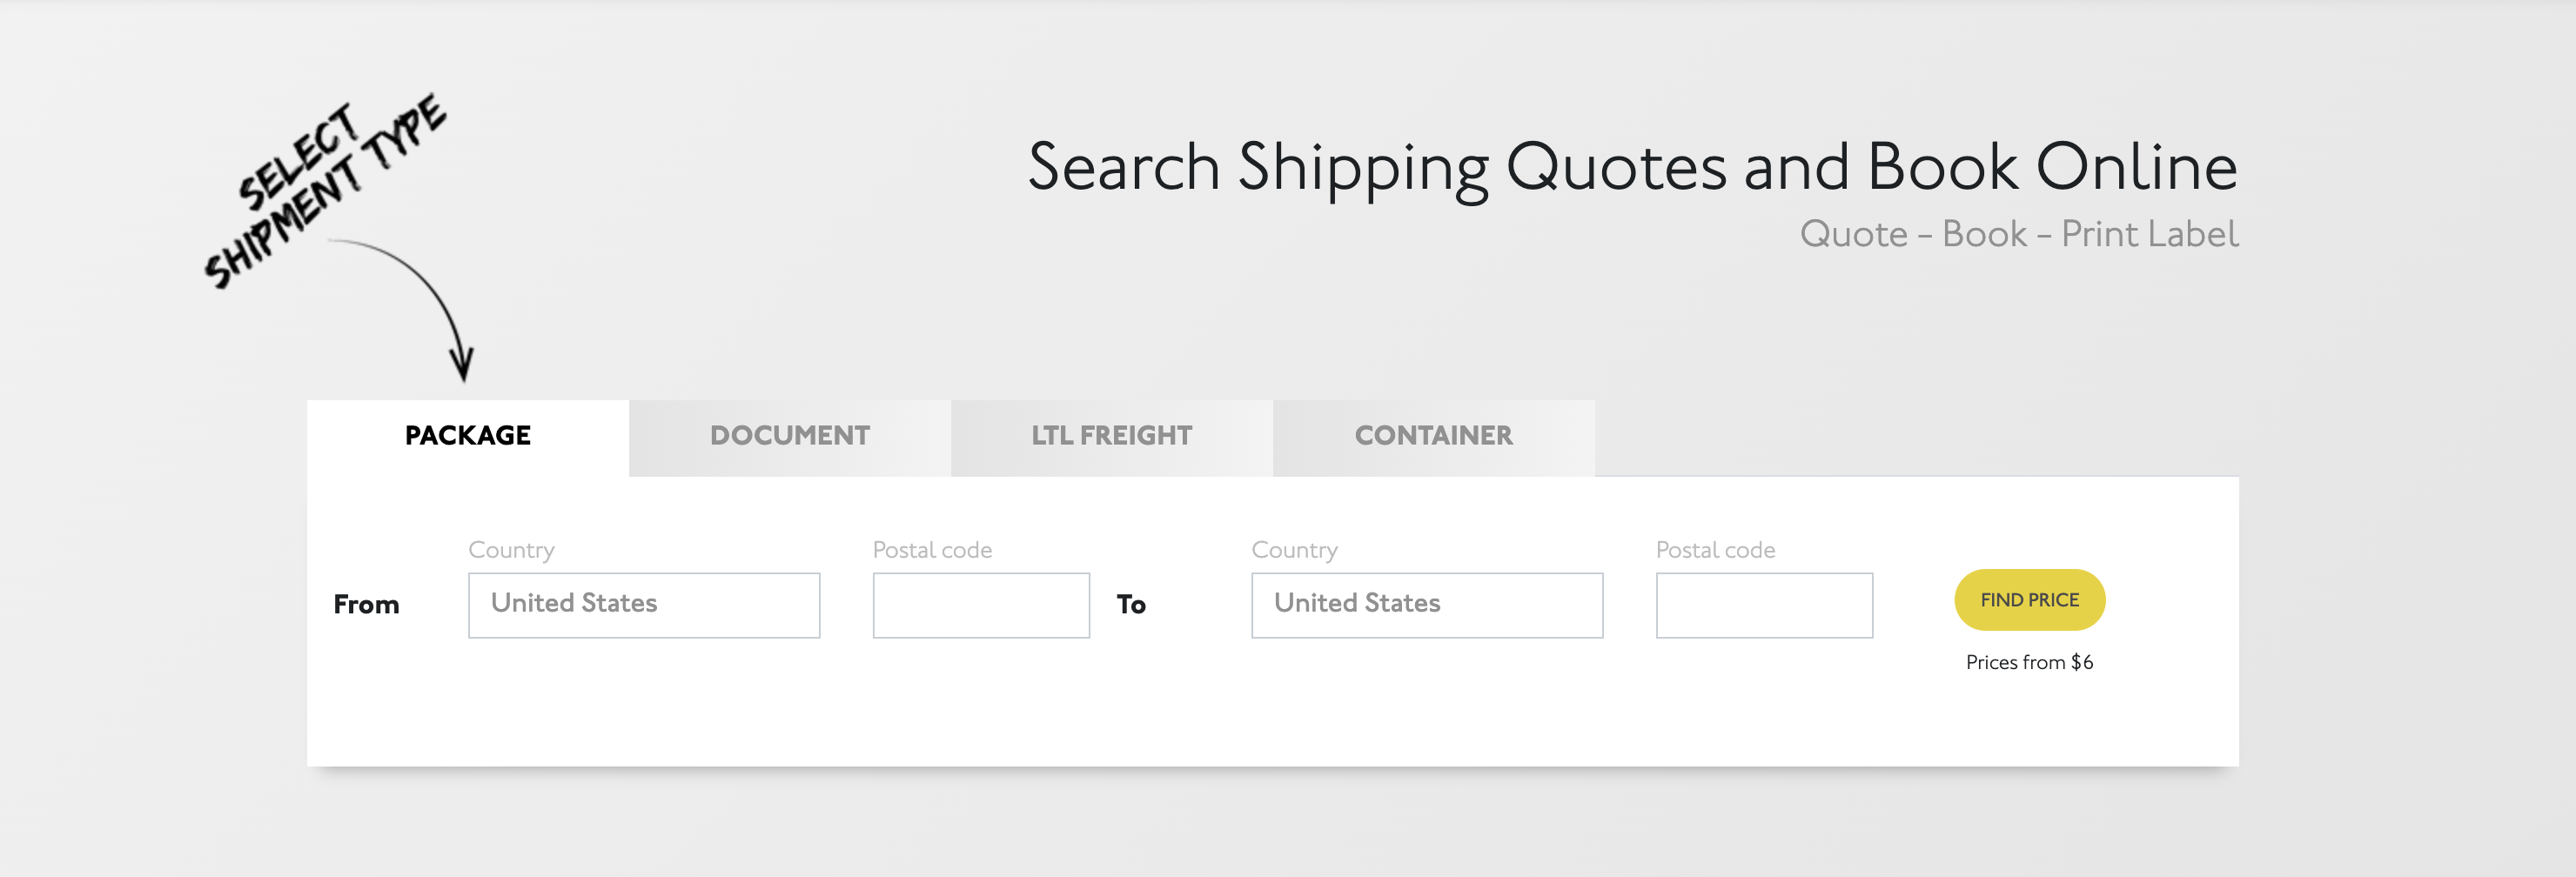

To print a USPS label, you can follow these steps:
1. Go to the USPS website and log in to your account. If you don’t have an account, you can create one for free.
2. Once logged in, navigate to the “Print a Label” section.
3. Enter the recipient’s address, your return address, and the package details (such as weight and dimensions) into the provided fields.
4. Select the type of service you want to use (e.g., Priority Mail, First-Class Mail, etc.) and any additional options (e.g., insurance, tracking, etc.).
5. After reviewing the information, click on the “Print Label” button.
6. Choose the format for your label (e.g., PDF, PNG, etc.) and select your printer.
7. Click “Print” to generate the label and affix it to your package.
By following these steps, you can easily print a USPS label for your package.
1. How do I print a USPS label at home?
To print a USPS label at home, you can use the USPS website or a third-party shipping platform like PayPal or ShipStation. Simply enter the shipping details, pay for the label, and then print it on a standard printer.
2. Can I print a USPS label without a printer?
If you don’t have a printer at home, you can visit a local library, shipping store, or office supply store that offers printing services. You can also use a mobile shipping app to generate a label and have it printed at a nearby location.
3. What type of paper should I use to print a USPS label?
It is recommended to use standard 8.5″ x 11″ adhesive label paper to print USPS labels. This type of paper is readily available at office supply stores and online retailers. If you don’t have adhesive label paper, you can print the label on regular paper and use clear packing tape to attach it to the package.