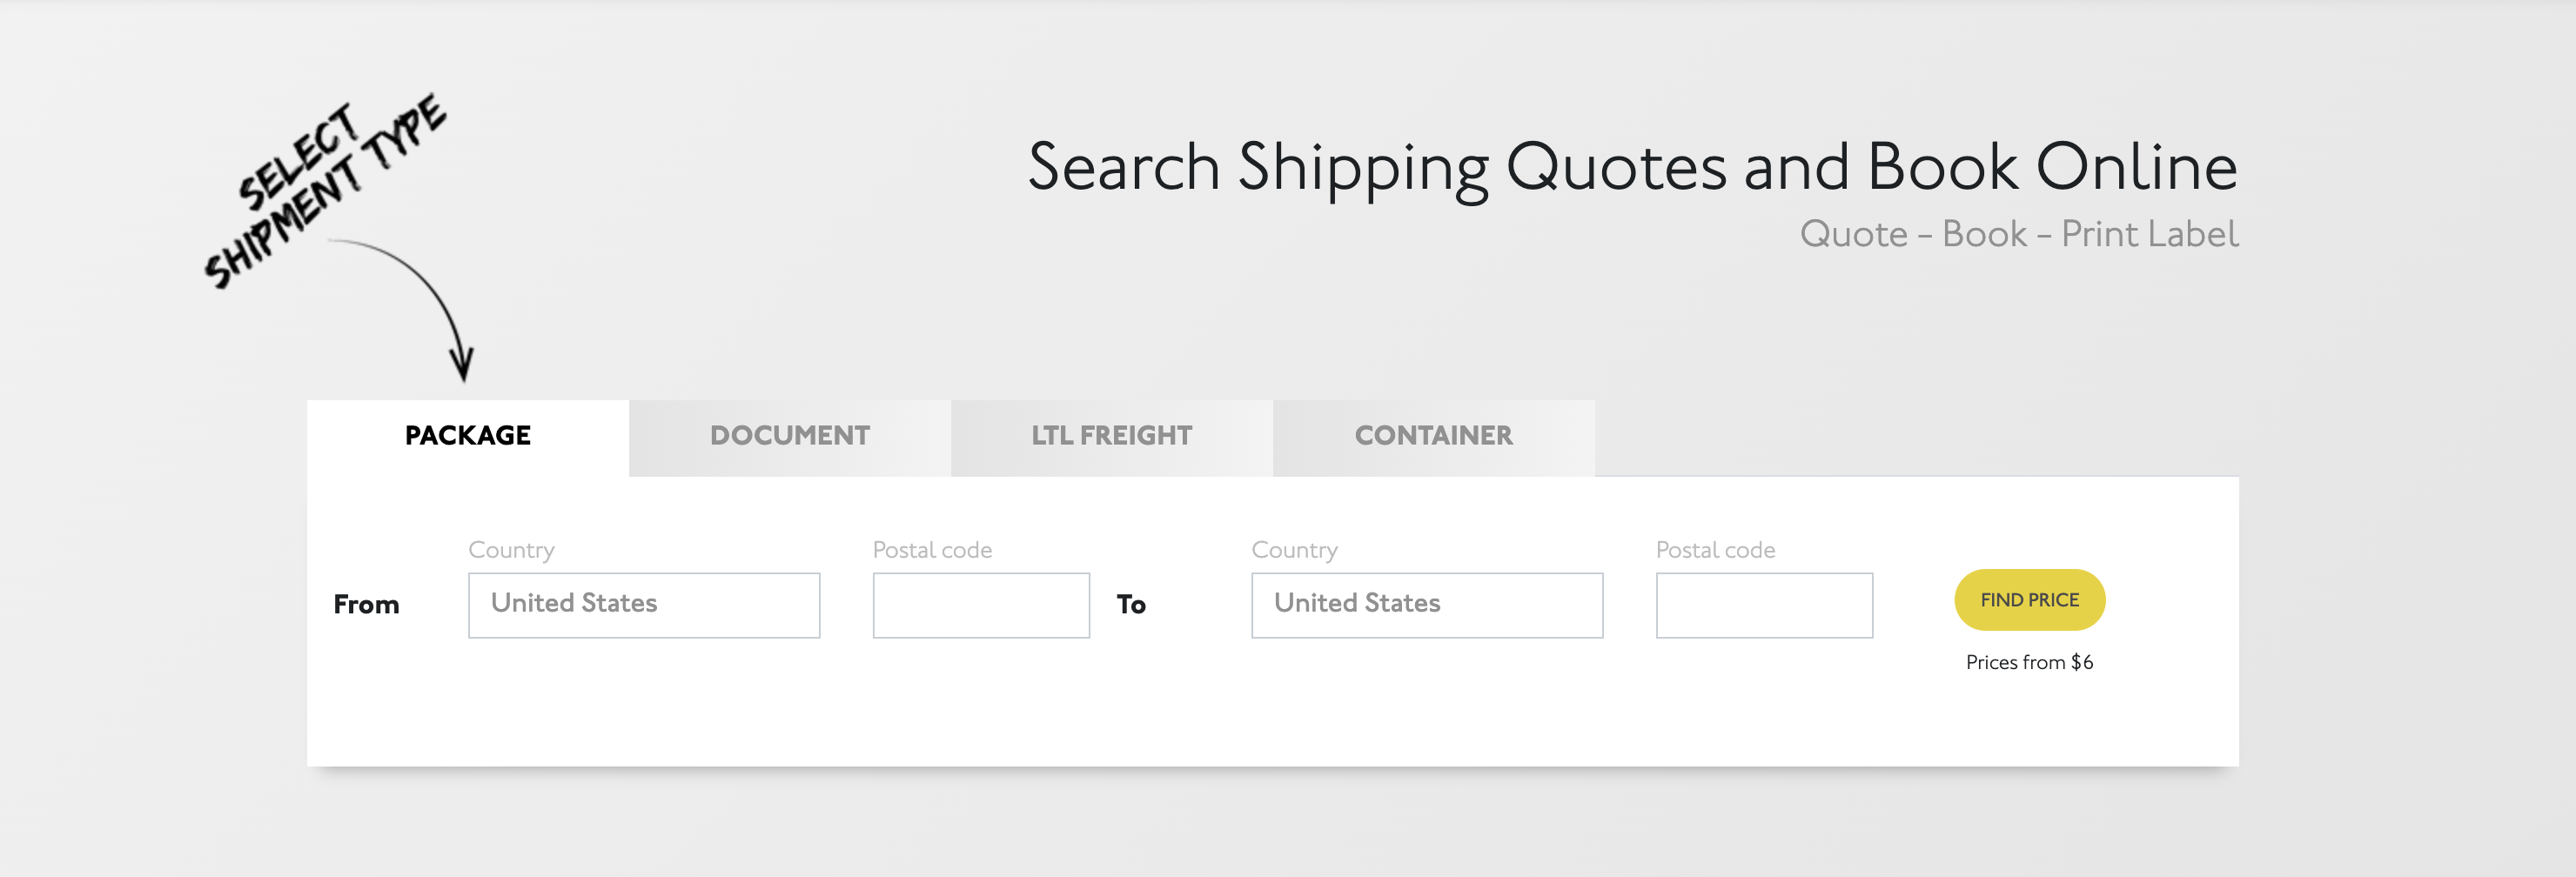

To print USPS labels, you can follow these steps:
1. Go to the USPS website and log in to your account.
2. Select “Print Shipping Label” from the “Ship a Package” section.
3. Enter the recipient’s address and package details.
4. Choose the shipping service and package type.
5. Select “Print Label” and choose the format for your label (PDF or PNG).
6. Once the label is generated, you can print it on a standard 8.5″ x 11″ paper or adhesive label paper.
7. Make sure your printer settings are correct and the label is printed at 100% scale.
8. Attach the label to your package using clear packaging tape.
By following these steps, you can easily print USPS labels for your packages.
1. How do I print USPS labels at home?
To print USPS labels at home, you can use the USPS Click-N-Ship service, which allows you to create and print shipping labels directly from your computer. You can also use third-party shipping software or online platforms that integrate with USPS to create and print labels.
2. What do I need to print USPS labels at home?
To print USPS labels at home, you will need a computer with internet access, a printer, and adhesive label paper or plain paper to print the label. You will also need a USPS account to access the Click-N-Ship service or a third-party shipping account that supports USPS label printing.
3. Can I print USPS labels without a postage meter?
Yes, you can print USPS labels without a postage meter by using online shipping platforms or software that allow you to purchase and print postage directly from your computer. These services often provide discounted postage rates and the ability to schedule package pickups from your home or office.